
How to Download Class Files
Downloading password protected training files is a 2-step process. You must download the files; then you have to unzip them.
Go to the Course page
- Click Courses at the top of the page
- Select a course category
- Select an application
- Select a Part (Level) at the top of the page
Click the Download link
Are you downloading course files or hot topic files?
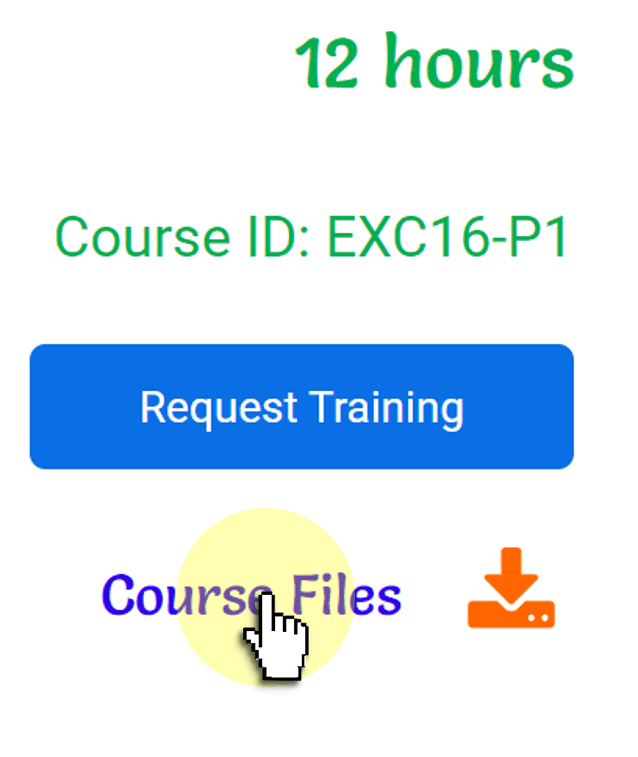
Course Files
To download course files, click the Course Files link at the top of the page.
Hot Topic Files
To download Hot Topic files, click the round icon next to the Hot Topic description.

Enter the password
Enter the password provided by your instructor.
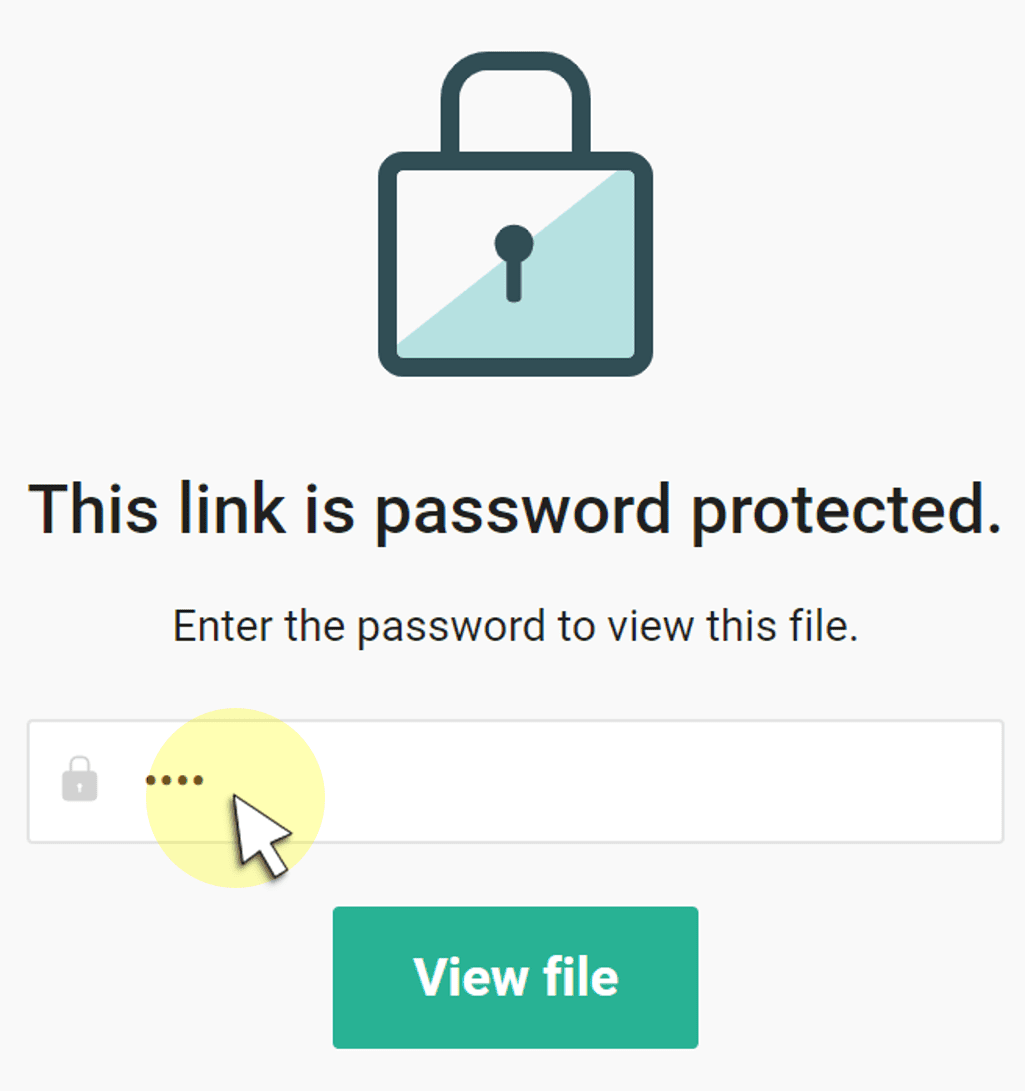
Download the file
Click the Download button to download the files.

Save the file
Save the zip file to your desktop.

Locate the Zip File
Locate the zip file on your desktop.
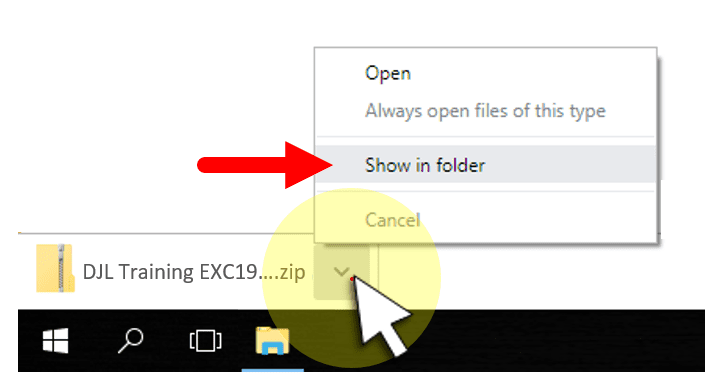
Show in Folder
Look for the download button in the bottom left corner of your screen. Click the arrow and select Show in Folder to display the destination folder.
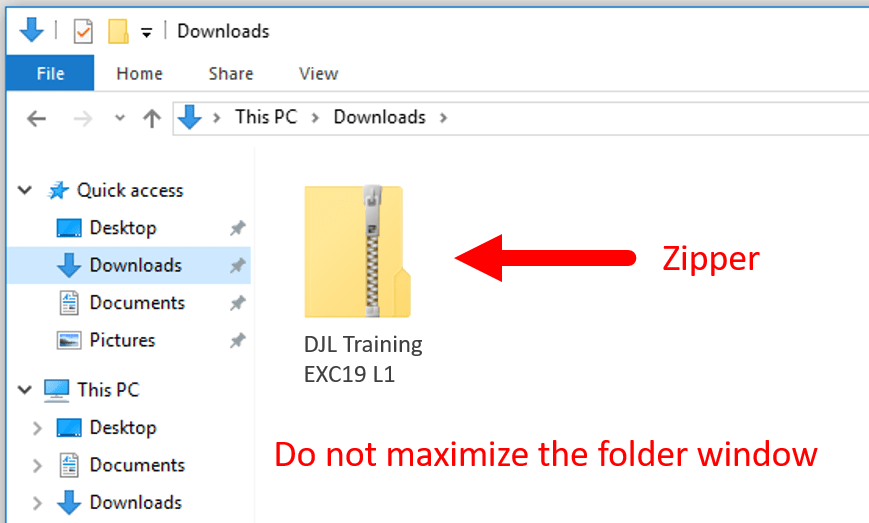
Observe the zip file
Many browsers automatically select the Downloads folder when you download a file. (Observe your destination folder.) Notice the zipper on the folder icon. This is a zip file. It contains compressed files in one or more folders. You can open, but you can not edit a compressed file. You must unzip it first. Do not maximize the folder window.
Unzip the zip file
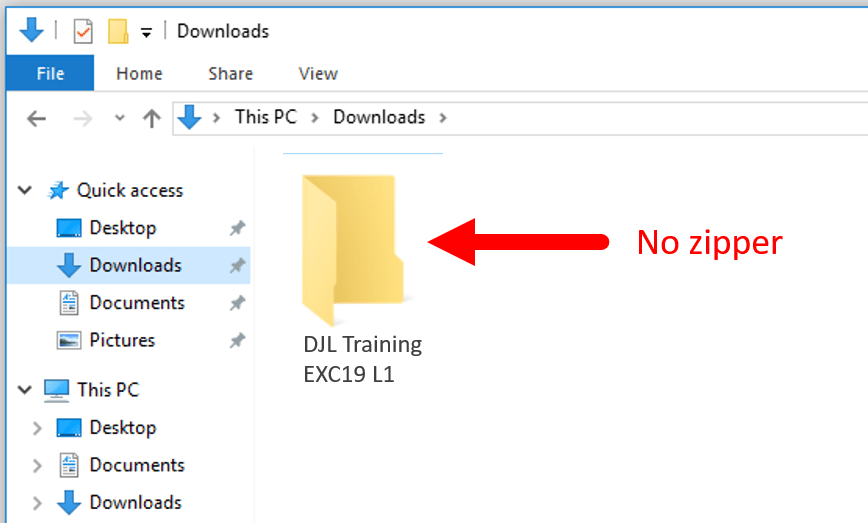
Double-click the zip file to display it's contents, a folder with no zipper. Be aware, the folder is still compressed. Do not open it.
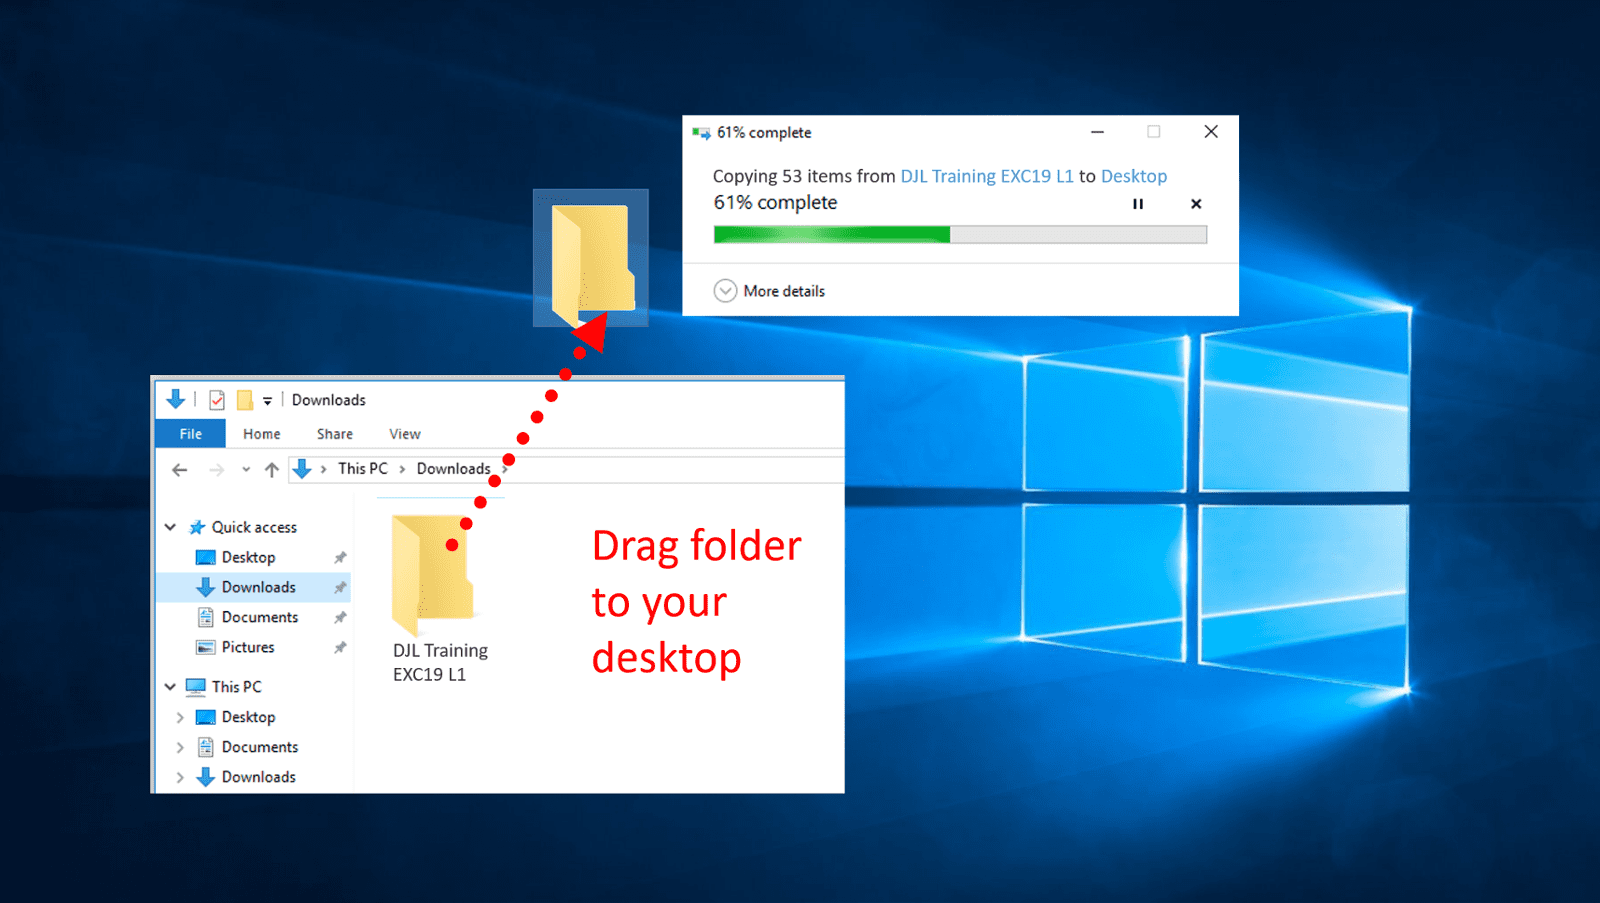
To unzip the folder, simply drag it to your desktop.
Confirm the unzipped folder on your Desktop
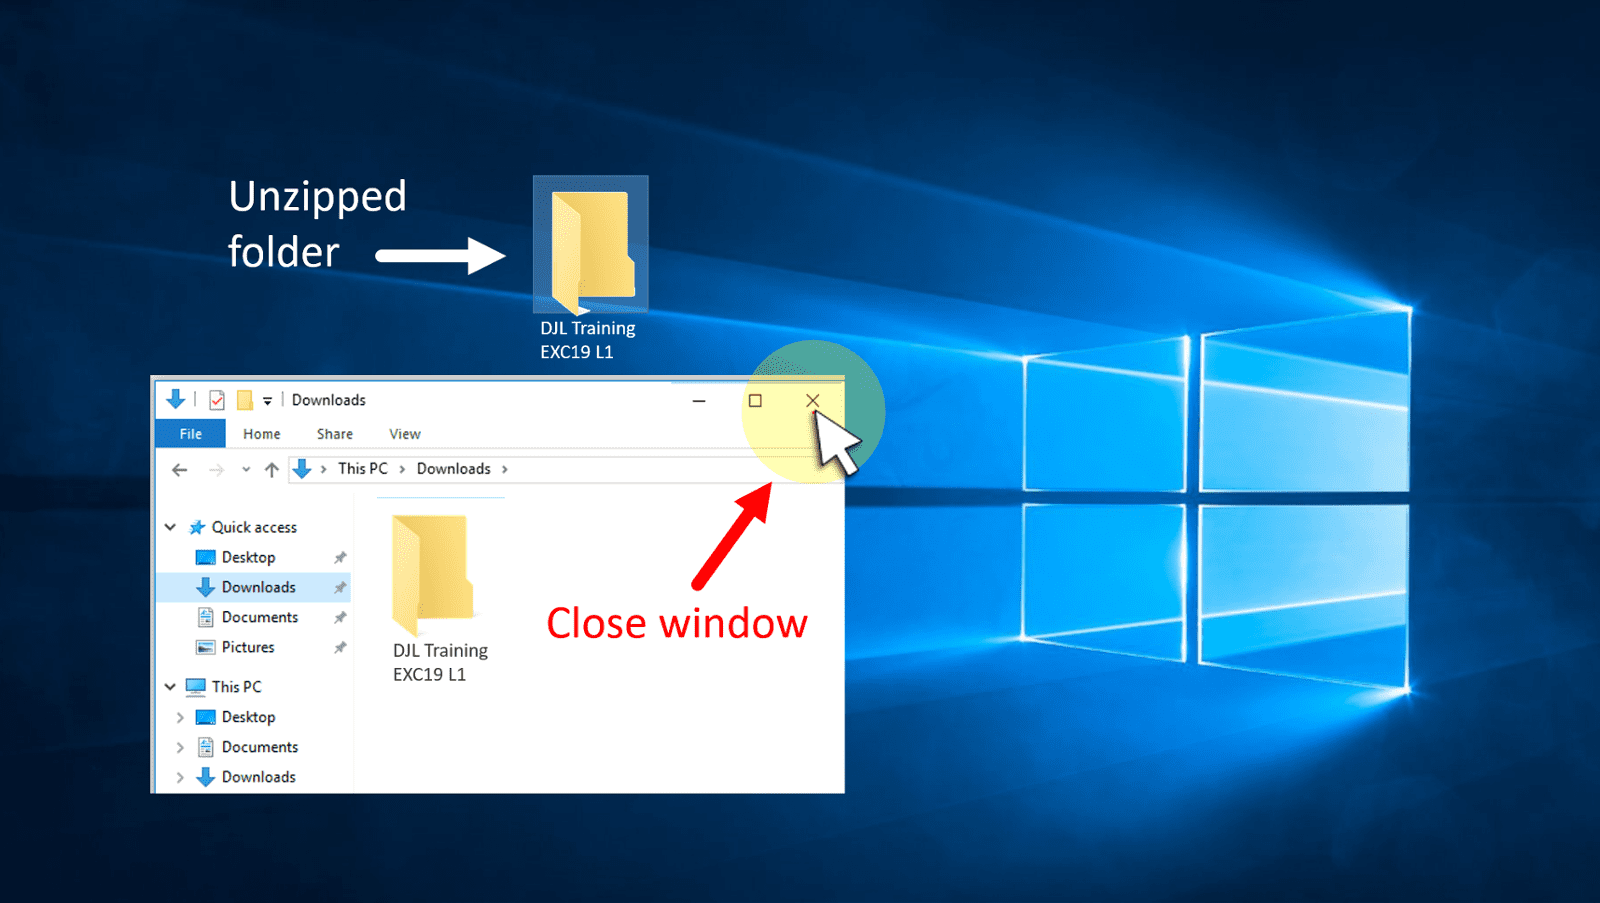
Confirm the unzipped folder is on your Desktop and close the window.
You're all set and ready for class!
You may choose to move the class files folder to another location if you like. However, during class, your instructor will refer to this folder "on the Desktop".